Alright, listen up! You don’t need a fancy gym membership or a personal trainer yelling at you to boost your agility. Nope. All you need is a bit of space—your living room or backyard will do just fine—and a sprinkle of determination. Forget complicated machines or expensive gear; agility is about quick feet, sharp reflexes, and being nimble as heck. And guess what? You can train all that right at home with some simple drills that don’t require much more than your own two feet and a bit of grit.
Now, before you dive headfirst into hopping around like a caffeinated squirrel, it’s worth knowing why agility actually matters. It’s not just for athletes trying to dodge tackles or slam dunk. Agility improves your everyday life by helping you move more smoothly, avoid injuries, and even boost your overall fitness level. Imagine not tripping over your own feet or reacting faster when your dog suddenly bolts for the door. That’s the kind of real-world magic agility brings.
- Injury prevention: Quick reflexes mean you catch yourself before a nasty fall.
- Improved coordination: Your body learns to move as one unit, not a clumsy mess.
- Better balance: Staying steady when life throws curveballs (or your toddler throws toys).
Alright, so how do you get started without turning your home into a chaotic obstacle course? First up, warm-ups. Skipping this step is like trying to drive a car without warming up the engine—sure, you might get there, but it’s gonna be rough and risky. Simple stuff like jogging in place, leg swings, or arm circles gets your muscles warm and ready.
| Exercise | Duration | Purpose |
|---|---|---|
| Jog in place | 2 minutes | Increase heart rate and blood flow |
| Leg swings (front to back) | 30 seconds each leg | Loosen hip joints |
| Arm circles | 30 seconds each direction | Warm shoulder muscles |
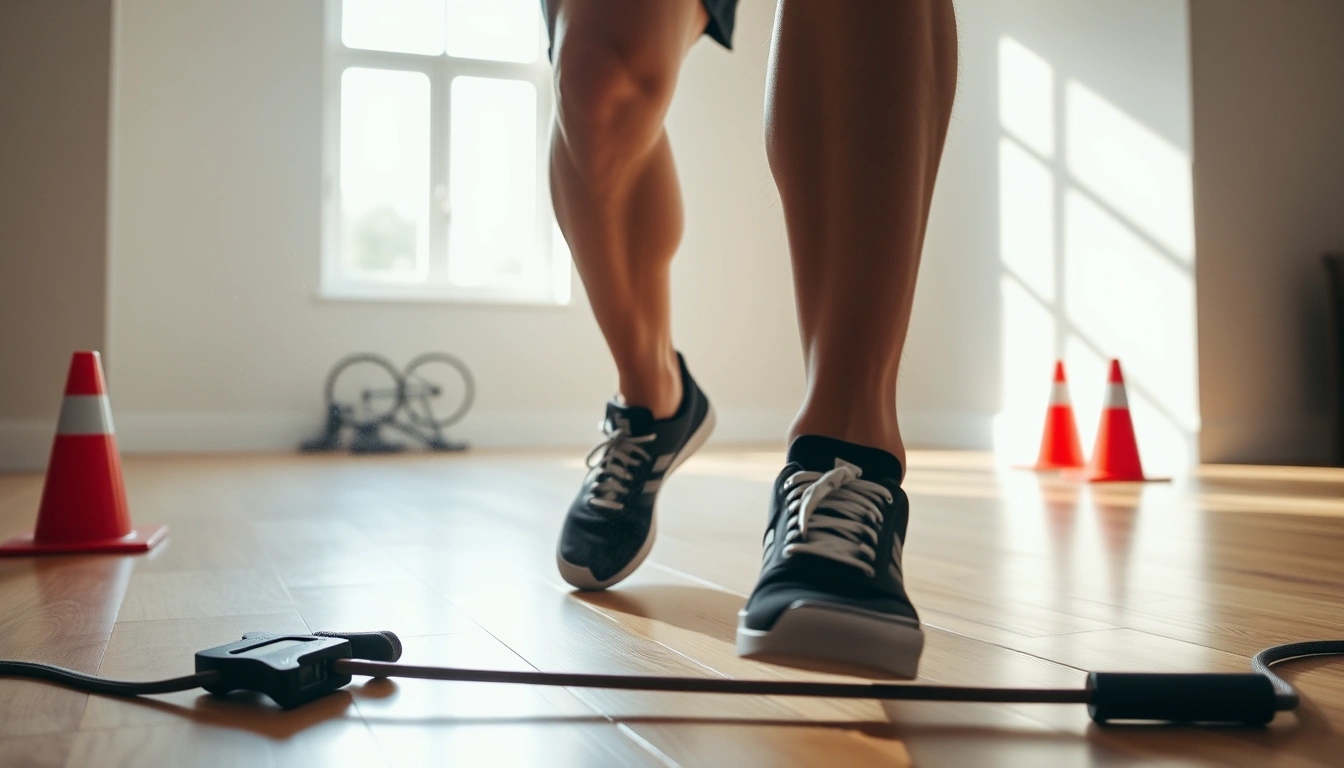
Jump rope drills might sound old school, but trust me, they’re gold. Don’t have a rope? No sweat—pretend you do. The idea is to get your feet moving fast and your coordination on point. Try jumping on one foot, then the other, or mix it up with double jumps. It’s like a mini dance party for your feet, and it seriously pays off.
Now, if you’re thinking, “But I don’t have one of those agility ladders,” chill out. Grab some tape or chalk and mark out a ladder right on your floor or driveway. You’ll be surprised how effective these simple ladder drills are for improving your speed and precision. And hey, if you’re feeling wild, time yourself and try to beat your record. Competition with yourself? Always a win.
- Quick feet drill: Step in and out of each box as fast as possible.
- Side shuffle: Move laterally through the ladder without touching the lines.
- In-In-Out-Out: Jump both feet into the box, then out to the sides.
Don’t have cones lying around? No problem. Water bottles, shoes, or even books can stand in as markers. Set them up in a zigzag or square pattern and practice changing directions quickly. This drill is perfect for teaching your body to react on the fly, which is pretty much what agility is all about.
Balance and stability might not sound as thrilling as sprinting around, but they’re the secret sauce behind staying agile. Try standing on one foot while brushing your teeth or doing gentle squats on a cushion. These little exercises keep you steady and ready to pivot when life demands it.
| Exercise | Description |
|---|---|
| Single-leg stand | Stand on one foot for 30 seconds, switch legs |
| Heel-to-toe walk | Walk straight line placing heel directly in front of toe |
| Squats on cushion | Perform slow squats standing on a soft surface |
Tracking your progress doesn’t have to be a high-tech nightmare. Use a stopwatch, your phone, or just eyeball it. The key is consistency. Write down your times or reps, and watch yourself improve. Just don’t get bummed if you have off days—everyone does.
Lastly, beware of rushing through drills or sloppy form. It’s tempting to just blast through exercises, but that’s a fast track to injury. Slow down, focus on technique, and build up speed gradually. Your body will thank you.
So, put all these pieces together and you’ve got yourself a killer agility routine right at home. No fuss, no frills, just good old-fashioned movement that makes you quicker, steadier, and downright more impressive when you dodge that stray soccer ball in the backyard.
Why Agility Matters More Than You Think
Alright, let’s get real for a sec — when most folks hear “agility,” their brain jumps straight to athletes dodging defenders on the field or ballerinas twirling on stage. But here’s the kicker: agility ain’t just some fancy skill reserved for the pros. Nope, it’s actually a secret weapon for everyone, whether you’re chasing after your dog in the backyard or just trying not to trip over the dog toy in the living room.
Think about it — agility is all about how quickly and smoothly you can change direction, react to sudden moves, and keep your balance without face-planting. And no, it’s not just about being fast on your feet. It’s about being sharp, coordinated, and ready for whatever life throws at you. Slip on a wet floor? Agility helps you catch yourself. Dodge a kid running wild in the kitchen? Agility wins the day. It’s like having a built-in safety net.
- Everyday Movement: From walking up stairs to weaving through crowded streets, agility keeps your body moving efficiently.
- Injury Prevention: Quick reflexes and strong balance reduce the chance of sprains, falls, and nasty injuries.
- Overall Fitness: Agility drills boost cardiovascular health, coordination, and even mental focus.
Now, let’s throw in a little table to clear things up — here’s why agility deserves a spot in your fitness routine:
| Aspect | Why It Matters | Real-Life Example |
|---|---|---|
| Quick Feet | Improves speed and reaction time | Darting around obstacles on your morning jog |
| Sharp Reflexes | Helps prevent falls and injuries | Stopping yourself from slipping on a wet floor |
| Balance & Stability | Supports smooth, controlled movements | Carrying groceries without wobbling |
But hey, I get it — agility sounds like some mystical superpower that only gym rats or pro athletes have. Spoiler alert: it’s not. You can build it up with simple drills right at home. And honestly, it’s not just about looking cool doing fancy footwork. It’s about feeling confident in your own skin, knowing you can move without hesitation or fear of injury.
Here’s a quick list of everyday perks you might not have considered:
- Better posture and less back pain
- More energy because your body moves more efficiently
- Sharper brain function since agility drills engage your mind too
So next time you think agility is just for the sports crowd, remember: it’s your body’s way of saying “Hey, I got this!” when life throws curveballs — or, you know, when your toddler suddenly bolts across the room. Embrace agility, and you might just surprise yourself with how much smoother life gets.
Pro Tip: Start small. Even simple movements like side steps, quick pivots, or balancing on one foot can kickstart your agility journey. No need to be a ninja overnight — just keep at it, and your body will thank you.
In the end, agility is less about flash and more about function. So lace up those sneakers, clear some space, and get ready to move smarter, not just faster.
Basic Warm-Up Routines to Prep Your Body
Alright, before you dive headfirst into those slick agility drills, let’s pump the brakes for a sec and talk about warming up. I get it—sometimes you’re raring to go and just wanna jump into the fun stuff. But trust me, skipping warm-ups is like trying to start a car on a freezing winter morning without letting it idle first. You’re asking for trouble.
Warming up isn’t just some annoying pre-game ritual; it’s your body’s way of saying, “Hey, heads up! We’re about to move fast and hard!” When you warm up properly, you increase blood flow to your muscles, raise your core temperature, and get your joints lubricated and ready to roll. This means you’re less likely to pull a muscle or twist an ankle when you’re busting out those quick feet moves.
- Start with some light cardio: Jogging in place, jumping jacks, or even dancing like no one’s watching for 3-5 minutes gets your heart pumping and wakes up those sleepy muscles.
- Dynamic stretches: None of that static “hold and wait” nonsense here. Think leg swings, arm circles, hip openers—movements that mimic what you’re about to do but at a slower pace.
- Joint rotations: Roll your ankles, wrists, knees, and hips gently to grease the wheels and prevent stiffness.
| Warm-Up Activity | Duration | Purpose |
|---|---|---|
| Light Jog or March in Place | 3-5 minutes | Increase heart rate and blood flow |
| Leg Swings (Front-to-Back & Side-to-Side) | 10 reps each leg | Loosen hips and hamstrings |
| Arm Circles | 10 forward, 10 backward | Warm up shoulders and upper body |
| Hip Openers | 10 reps per side | Improve hip mobility |
| Ankle Rolls | 10 each direction | Prevent ankle injuries |
Now, if you’re thinking, “Geez, that sounds like a lot of fluff before the actual workout,” here’s the kicker: proper warm-ups can seriously reduce your injury risk. And injuries? They’re the ultimate party poopers. Nothing kills your momentum faster than a pulled muscle or a twisted joint. Plus, warming up can actually boost your performance. Yup, you heard me right. Your muscles respond better, your reflexes sharpen, and your body feels more coordinated when it’s primed and ready.
But hey, don’t overthink it either. Your warm-up doesn’t need to be a marathon. Keep it simple, keep it moving, and listen to your body. Feeling stiff? Spend a bit more time loosening up. Feeling good? Great—stick to the basics and get after it.
Pro Tip:If you’re short on time, a quick 5-minute warm-up like this can do wonders:- 1 minute jumping jacks- 1 minute arm circles + shoulder rolls- 1 minute leg swings- 1 minute hip openers- 1 minute ankle rolls + light jogging in place
Remember, warming up isn’t just a boring chore—it’s your secret weapon to moving faster, turning sharper, and staying injury-free. So next time you’re itching to start those agility drills, give your body the warm-up it deserves. Your muscles will thank you, and your future self won’t be hobbling around wondering what went wrong.
Bottom line: Never underestimate the power of a good warm-up. It’s the foundation of every great workout, especially when you’re working on agility at home. No fancy equipment needed, just a little time and some good old-fashioned movement.
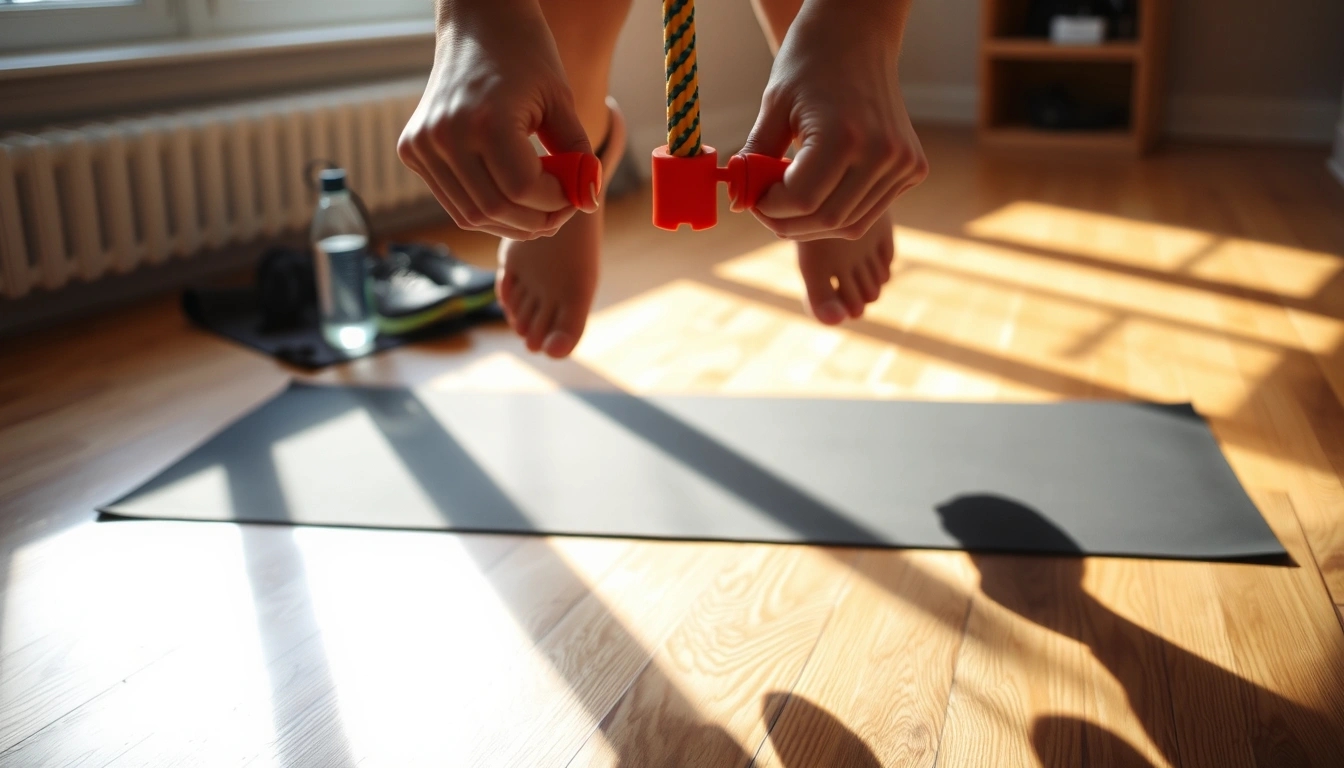
Jump Rope Drills: Old School, Still Gold
Alright, let’s get real for a second. Jump ropes — yeah, those simple cords you probably had as a kid — they’re not just some dusty relic from playground days. Nope! They’re actually a powerhouse tool for boosting your foot speed and coordination, and the best part? You don’t need a fancy gym membership or expensive gear to get started. Just grab a rope, clear a little space in your living room or backyard, and you’re good to go.
Now, you might be thinking, “Jump rope? Isn’t that just for kids or boxers?” Well, sure, it’s a classic in the boxing world, but it’s also a secret weapon for anyone looking to sharpen their agility. Why? Because jump ropes force your brain and muscles to sync up fast. Your feet have to move quickly and precisely, your arms keep the rhythm, and your eyes stay sharp to avoid tripping. It’s like a full-on coordination party.
| Benefit | Why It Matters |
|---|---|
| Foot Speed | Rapid foot turnover improves reaction times in sports and daily activities. |
| Coordination | Synchronizes hand-eye and foot movements, reducing clumsiness. |
| Endurance | Boosts cardiovascular fitness without pounding your joints. |
| Balance | Enhances stability by forcing constant micro-adjustments. |
But hey, don’t just jump in willy-nilly. Like any good workout, you gotta warm up those muscles first — nobody wants a pulled calf or an ankle twist. Start with some light jogging in place or dynamic stretches for about 5 minutes. Then, grab your rope and begin with the basics: just simple two-foot jumps, keeping your elbows close and wrists doing most of the work spinning that rope.
- Basic Jump: Jump with both feet together, aiming for a smooth rhythm.
- Alternate Foot Step: Pretend you’re jogging in place while jumping rope.
- High Knees: Bring your knees up higher for an added challenge.
Here’s a quick tip: don’t get discouraged if you trip over the rope a bunch of times. It’s normal, trust me. Coordination takes practice, and your brain is basically learning a new dance. The key is consistency. Even 5-10 minutes a day can make a noticeable difference in your footwork.
And if you want to spice things up, try mixing in some double-unders — where the rope passes under your feet twice in one jump. Sounds crazy? Yeah, it’s tough at first, but it’s a killer way to fire up your fast-twitch muscles and elevate your heart rate.
Sample Jump Rope Session (10 minutes):- 2 minutes basic jumps- 1 minute rest- 2 minutes alternate foot steps- 1 minute rest- 1 minute high knees- 1 minute rest- 2 minutes double-unders (or practice attempts)
Remember, jump ropes are versatile and portable. You can toss one in your bag and sneak in a session whenever you have a few spare minutes — waiting for the bus, during TV commercials, or even in your office if you’re feeling bold. No excuses, right?
So, next time you’re looking to up your agility game without fuss, don’t overlook this humble tool. It’s old school, sure, but sometimes the classics are the best. Get that rope spinning and watch your speed and coordination take off.
Ladder Drills Without a Ladder? Yes, Please!
So, you wanna boost your agility but don’t have one of those fancy agility ladders lying around? No sweat. Honestly, who does? They’re kinda bulky, a bit pricey, and let’s be real—most of us just want to get moving without hunting down gear. Here’s the good news: you can create your own agility ladder right on your floor using just some tape or chalk. Yep, it’s that simple.
Why bother with ladder drills at all? Because they’re gold for improving foot speed, coordination, and precision. Plus, they’re fun in a weird, “I’m working out but don’t wanna look like I’m working out” kind of way. The key is nailing those quick, controlled steps, and an imaginary ladder on your floor can do the trick just fine.
- Step 1: Grab some painter’s tape or masking tape if you’re indoors. If you’re outside, chalk works wonders. You just want to mark out a series of rectangles—about 18 inches long and 12 inches wide works well.
- Step 2: Space these rectangles evenly, leaving about 6 inches between each “rung” of your ladder.
- Step 3: Now, you’re ready to jump, hop, or sprint through your makeshift ladder.
| Drill Name | How to Do It | Benefits |
|---|---|---|
| One-Foot In Each Box | Step quickly, putting one foot inside each rectangle without touching the tape. | Improves foot speed and balance. |
| Two-Foot In Each Box | Place both feet inside each box before moving to the next. | Builds coordination and rhythm. |
| Lateral Quick Steps | Face sideways and step laterally through the ladder. | Enhances side-to-side agility. |
Look, I get it—using tape or chalk isn’t as glamorous as a pro’s agility ladder. But here’s the thing: the drill’s effectiveness lies in your commitment, not the equipment. If you’re half-assing it, no ladder in the world will save you. But if you go all in, focusing on crisp, quick foot placement, you’ll feel the difference in no time.
Plus, making your own ladder has some perks. You can customize the size of each box to make it easier or tougher. Feeling brave? Shrink the boxes for a real challenge. Need a breather? Widen them out. Flexibility is your friend here.
Pro tip: Try timing yourself for each drill and track your progress over weeks. Nothing like a little friendly competition with yourself to keep the motivation rolling. And hey, if you have kids or roommates, drag them into the fun. Turns out, agility drills are a great way to annoy your family while getting fit.
So, no ladder? No problem. Your floor is your playground, your tape or chalk is your gear, and your feet? Well, they’re about to get a whole lot quicker.
Quick Recap:
- Use tape or chalk to mark your ladder on the floor.
- Focus on precision and speed with various stepping drills.
- Customize box size for your skill level.
- Track your progress for motivation.
Now, lace up those sneakers, clear some space, and get hopping. Your agility upgrade is just a few steps away!
Cone Drills Using Household Items
So, you’re pumped to boost your agility but—plot twist—you don’t have those fancy cones lying around? No sweat. Seriously, you don’t need to break the bank or go hunting down sports gear. Your home is already a treasure trove of makeshift tools just waiting to be repurposed for killer cone drills. Water bottles, shoes, books, even cans of soup—anything that can stand still and mark a spot on the floor will do. The key is to get creative and get moving.
First things first: setting up your course. Grab about 4 to 6 items and space them out in a zigzag or square pattern depending on the drill you want to try. For example, line up some water bottles about 2 to 3 feet apart in a straight line for a simple shuttle run or arrange shoes in a diamond shape for more lateral movement. If you want to get fancy, toss in some taped lines or chalk marks to add extra challenge zones.
| Household Item | Recommended Drill | Spacing |
|---|---|---|
| Water Bottles | Zigzag Weave | 2-3 feet apart |
| Shoes | Square Drill | 3 feet per side |
| Books | Linear Shuttle | 4 feet apart |
| Cans | Circle Pivot | 2 feet radius |
Now, the fun part: performing the drills. Start slow—no need to sprint like you’re dodging zombies on day one. Focus on quick, sharp changes of direction. Sprint to the first marker, plant your foot, and pivot toward the next. If you’re zigzagging, think of it like a dance with your feet, light and precise. Oh, and don’t forget to keep your knees slightly bent and your core engaged. Trust me, it’s not just about speed but control.
- Zigzag Weave: Sprint forward weaving through your markers. This drill nails your lateral quickness.
- Square Drill: Run around your square setup clockwise, then switch to counterclockwise. Great for multi-directional agility.
- Circle Pivot: Jog around your markers in a circle, practicing tight turns and balance.
Here’s a little insider tip: use a stopwatch or your phone’s timer to track how fast you complete a drill. It adds a bit of competitive spice, even if you’re just racing yourself. Plus, seeing your times drop over weeks is oddly satisfying.
Example Drill Routine:1. Warm-up jog (5 mins)2. Zigzag Weave x 3 sets (30 seconds rest between)3. Square Drill x 2 sets (45 seconds rest)4. Circle Pivot x 2 sets (30 seconds rest)
Remember, don’t get discouraged if you trip over your shoes or knock over a bottle here and there. It’s all part of the process. Agility is messy, imperfect, and sometimes downright frustrating. But with these household cone drills, you’re turning your living room or backyard into a mini training ground without shelling out for gear. So, grab those random objects, lace up your sneakers, and get ready to twist, turn, and hustle like a pro—even if your “cones” are just yesterday’s sneakers.
Bottom line: Agility training doesn’t have to be complicated or expensive. With a little imagination, your home is the perfect gym. Now, go on—set up those cones (or water bottles) and show your feet who’s boss!
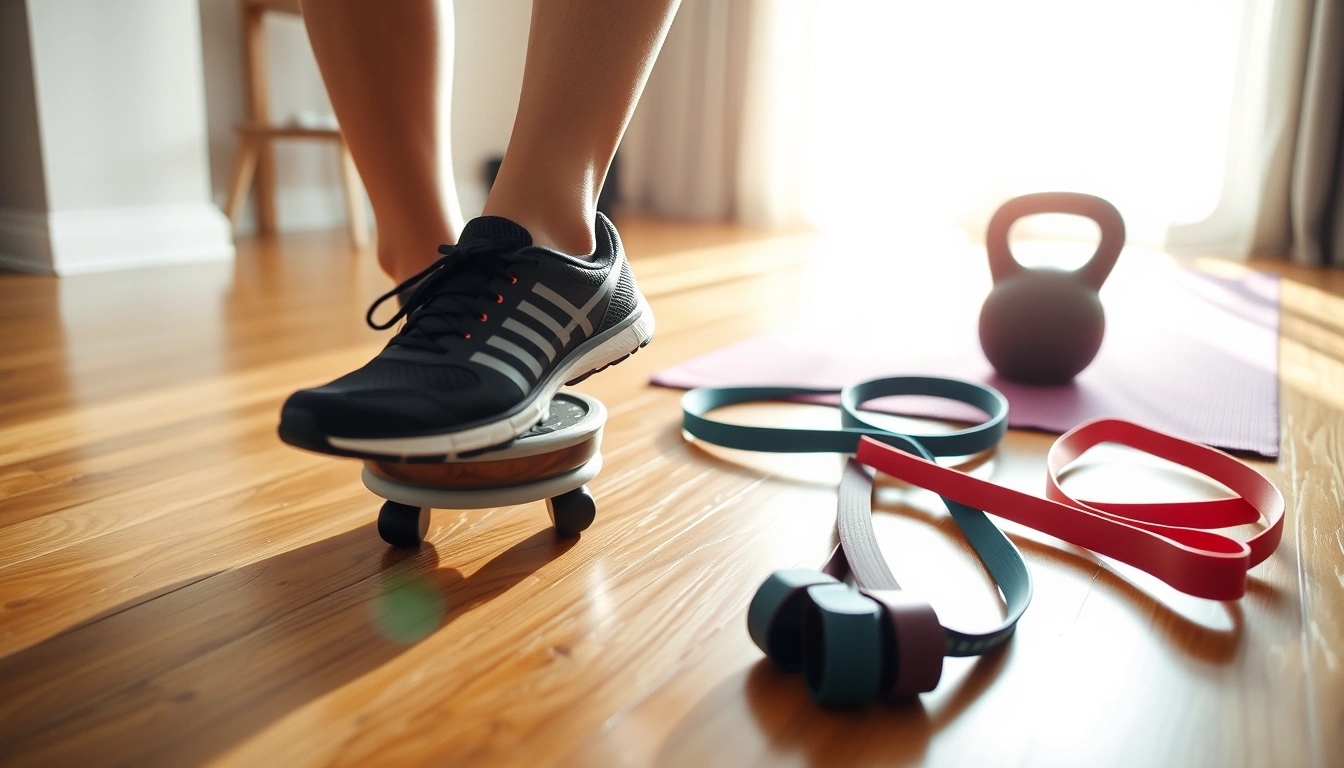
Balance and Stability Exercises for Agility
Alright, let’s get real for a second: when you think about agility, most folks picture lightning-fast sprints or those crazy quick direction changes athletes pull off. But here’s the kicker — agility isn’t just about speed. Nope, balance and stability are the unsung heroes that keep you from face-planting every time you try to pivot or dodge. Seriously, try running fast with wobbly legs and see how far you get without looking like a newborn deer on ice.
So, what’s the secret sauce? It’s all about training your body to stay steady and controlled, even when things get wild. These balance-focused moves don’t just make you look cool; they build a rock-solid foundation so your quick feet don’t turn into quick falls. Plus, they help prevent injuries, which is a win-win. Nobody wants to hobble around because they botched a simple move, right?
- Single-Leg Stands: This one’s a classic but don’t underestimate it. Stand on one foot, keep your eyes fixed on a spot, and hold it for 30 seconds. If you’re feeling fancy, close your eyes or stand on a pillow to up the difficulty. It’s like giving your balance a little workout without breaking a sweat.
- Heel-to-Toe Walk: Imagine walking on a tightrope in your living room. Place one foot directly in front of the other, heel touching toe, and take slow, deliberate steps. This exercise sharpens your foot placement and stability — perfect for those quick pivots.
- Balance Board or Cushion Drills: If you have a balance board, great! If not, a thick cushion or folded towel works wonders. Stand on it and try shifting your weight side to side or doing mini squats. Your muscles will scream (in a good way).
Now, before you roll your eyes and say, “Balance? That’s boring,” hear me out. These exercises are sneaky tough and super effective. Plus, they don’t need fancy equipment or a gym membership. Just a little space and a bit of patience.
| Exercise | Duration/Reps | Purpose |
|---|---|---|
| Single-Leg Stand (Eyes Open) | 3 sets of 30 sec each leg | Improves static balance and focus |
| Heel-to-Toe Walk | 2 sets of 20 steps | Enhances foot placement accuracy |
| Balance Cushion Mini Squats | 3 sets of 10 reps | Builds dynamic stability and leg strength |
Here’s a little tip: mix these drills into your agility routine. Do them after your warm-up or as a cool-down. They’re like the glue that holds your speed and quickness together. Without balance, your agility is just a flashy mess waiting to happen.
One last thing — don’t rush it. Balance training is all about control and patience. You won’t be a ninja overnight, but with consistent practice, you’ll notice your movements becoming smoother, your pivots sharper, and your confidence skyrocketing. Plus, your body will thank you by dodging those pesky sprains and strains.
So, lace up, find your center, and get steady. Because when speed meets stability, that’s when the magic happens.
Tracking Your Progress: Simple Methods That Work
Keeping an eye on how far you’ve come with your agility training doesn’t mean you need to drop a fortune on fancy gadgets or complicated apps. Honestly, sometimes those gizmos just get in the way, making things seem more complex than they really are. The truth is, simple, consistent tracking can keep you motivated and give you a real sense of accomplishment without the tech headache.
Let’s get real: if you’re trying to improve your quickness and nimbleness, you want to see some proof that your hard work is paying off. But how? Here are some no-nonsense, straightforward ways to measure your agility gains at home or wherever you get your drills done.
- Stopwatch Sprints: Grab a stopwatch (or your phone’s timer—no fancy apps required) and time yourself running short distances, like 10 or 20 meters. Try to beat your previous times each week. It’s simple, effective, and gives you a clear number to chase.
- Footwork Drills Count: Set a timer for 30 seconds and count how many quick steps or ladder drills you can complete. Keep a notebook or a note on your phone to jot down your numbers. Seeing those reps climb is a great confidence booster.
- Video Yourself: Sounds a bit extra, but recording your drills can be a game-changer. You’ll spot things you might miss in the mirror, like form slips or hesitation. Plus, it’s fun to look back and see your progress visually.
| Method | What You Need | How It Helps |
|---|---|---|
| Stopwatch Sprints | Stopwatch or phone timer | Tracks speed improvements over fixed distances |
| Step Count Drills | Timer, notebook or phone notes | Measures foot speed and endurance |
| Video Analysis | Phone or camera | Visual feedback for technique and form |
Now, don’t freak out if you don’t see progress every single day. Agility isn’t a straight line—it’s more like a rollercoaster with ups and downs. Some days you’ll feel like a gazelle, other days more like a baby deer on ice. The key is consistency and keeping your eyes on long-term improvement.
Also, mixing up your drills can keep things fresh and prevent plateaus. If you find yourself stuck, try switching from ladder drills to cone drills or balance exercises. Then, track those changes and see what works best for you.
Tips for Tracking Success:- Set realistic goals (don’t expect Usain Bolt times overnight)- Record your results after every session- Celebrate small wins (yes, even if it’s just 1 more step or 0.2 seconds faster)- Review your progress weekly to adjust your routine
Remember, the whole point is to stay motivated and actually enjoy the process. If tracking starts to feel like a chore, take a breather, then jump back in with a fresh mindset. Your agility journey is personal, and the best methods are the ones that keep you moving forward without stress.
So, ditch the tech anxiety, grab a timer, maybe your phone camera, and start keeping tabs on your progress the old-fashioned way. You’ll be surprised how much those simple numbers and videos can light a fire under your training.
Keep it simple, keep it fun, and watch your agility soar!
Common Mistakes to Avoid During At-Home Drills
Look, we all want to get faster, sharper, and more agile, but sometimes in our eagerness, we mess things up big time. Rushing through drills or ignoring proper form isn’t just a rookie mistake—it can actually set you back or worse, cause injuries. So, before you go all-in on those at-home agility routines, let’s chat about some common pitfalls that sneak up on everyone, even the pros. Trust me, dodging these will save you a lot of pain and frustration.
- Skipping the Warm-Up: Yeah, I get it, warm-ups can feel like a drag, but jumping straight into drills cold is a recipe for pulled muscles and joint pain. Your body needs to wake up and loosen up before you start busting moves.
- Ignoring Proper Form: It’s tempting to fly through ladder drills or cone sprints just to “get it done,” but sloppy form kills effectiveness. You’re training your brain and muscles to move efficiently, so sloppy ingraining bad habits.
- Overdoing It: More isn’t always better. Doing too many reps or sessions without rest can lead to burnout or nagging injuries. Listen to your body; soreness is normal, but sharp pain is a red flag.
- Not Using Enough Space: Cramped areas may force you to cut corners on movements, which defeats the purpose of agility drills. Make sure you have enough room to move freely and safely.
Here’s a quick table to help you spot some of these common errors and how to fix them on the fly:
| Mistake | Why It’s Bad | Quick Fix |
|---|---|---|
| Skipping Warm-Up | Increases injury risk and reduces performance | Spend 5-10 minutes on light cardio and dynamic stretches |
| Poor Form | Builds bad movement patterns and limits gains | Slow down, watch tutorials, or use a mirror |
| Overtraining | Leads to fatigue, injury, and loss of motivation | Schedule rest days and vary intensity |
| Limited Space | Restricts movement and drill effectiveness | Clear an area or adjust drills to fit your space |
Now, let’s talk about the sneaky little things that often get overlooked but can mess up your progress big time. For example, holding your breath during drills. Sounds silly, but it happens! When you tense up and forget to breathe properly, your muscles get less oxygen, and your stamina tanks faster than you’d expect. So, keep that breathing steady and controlled.
Also, don’t be that person who thinks “more speed better.” Nope. If you’re zipping through drills without control, you’re teaching your body to be sloppy and uncoordinated. It’s like trying to sprint before you can walk. Slow down, nail the technique, then crank up the speed.
Practical Tip:- Record yourself doing drills.- Watch the footage.- Spot form issues.- Adjust and repeat.
Finally, don’t forget to hydrate and fuel your body properly. Training agility isn’t just about moving fast; it’s about being sharp and responsive. If you’re running on empty, your performance will flatline faster than you can say “skip leg day.”
In short, agility training at home can be a game-changer, but only if you play it smart. Avoid these common mistakes, keep your head in the game, and you’ll see steady progress without the nasty setbacks. Remember, slow and steady often wins the race—even when you’re chasing speed.
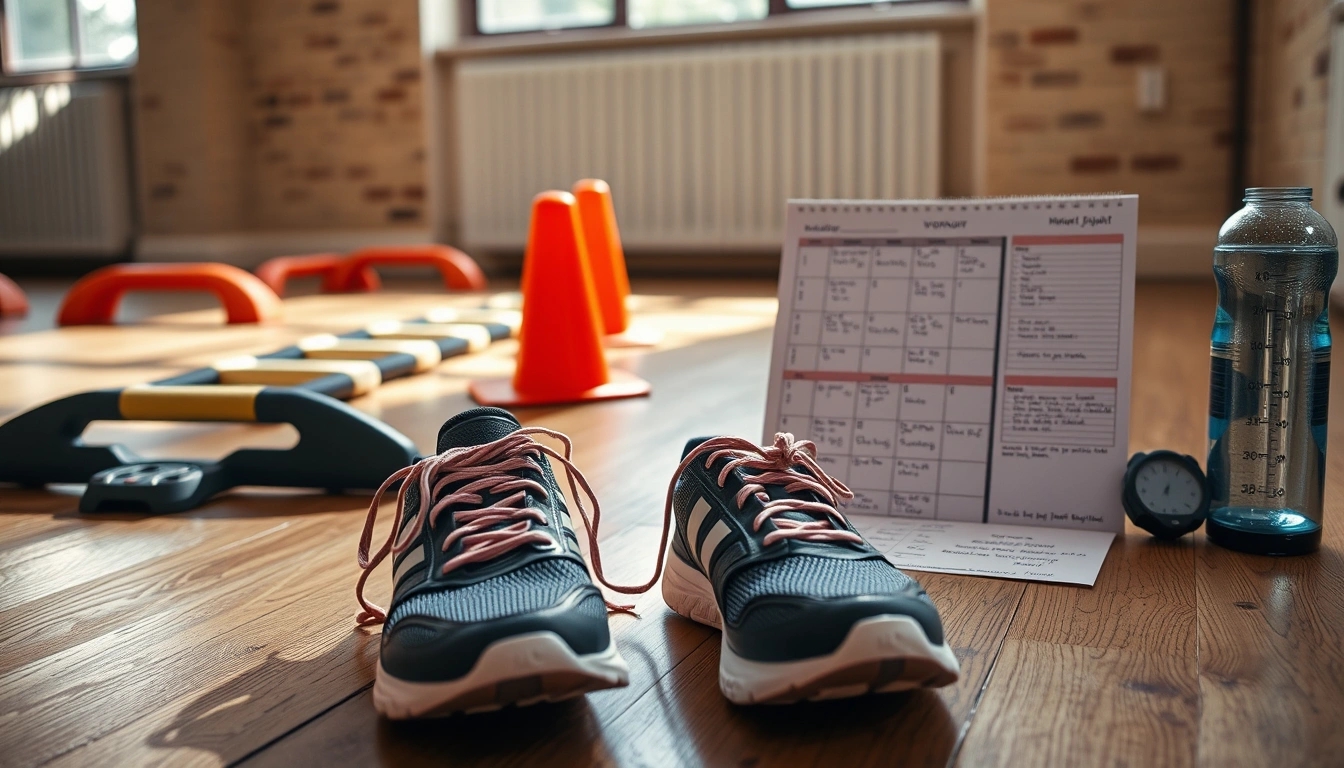
Putting It All Together: Sample Weekly Agility Routine
Putting It All Together: a Sample Weekly Agility Routine that Actually Works
Alright, so you’ve got the drills, the warm-ups, and the know-how to boost your agility without turning your living room into a gym jungle. But here’s the kicker: consistency beats intensity any day. You don’t need to kill yourself with a marathon of drills every single day. Instead, let’s craft a weekly plan that’s practical, balanced, and won’t make you dread your own workout.
Think of this routine as your agility GPS. It guides you through the week, mixing jump rope, ladder drills (or their DIY versions), cone exercises, and balance work so you steadily sharpen your quickness without burning out.
| Day | Focus | Drills & Duration | Notes |
|---|---|---|---|
| Monday | Jump Rope & Warm-Up |
| Start light, focus on rhythm. |
| Tuesday | Ladder Drills (Tape or Chalk) |
| Don’t rush—precision over speed. |
| Wednesday | Rest or Light Activity | Walk, stretch, or yoga | Recovery is key, don’t skip it! |
| Thursday | Cone Drills with Household Items |
| Set cones creatively; shoes or bottles work fine. |
| Friday | Mixed Agility & Balance |
| Push a little harder but listen to your body. |
| Saturday | Active Rest | Light jog, stretching, or fun sports | Keep moving, but easy does it. |
| Sunday | Full Rest | Nothing but chill | Recharge for the week ahead. |
Look, this isn’t rocket science. You don’t need to be some elite athlete to see progress. The secret sauce? Mixing drills so your body doesn’t get bored, and giving yourself enough recovery so you don’t get sidelined with injuries or burnout.
Here’s a quick checklist for your weekly routine success:
- Warm-up properly before every session—your muscles will thank you.
- Focus on form over speed. It’s tempting to rush, but sloppy movements do more harm than good.
- Track your progress with simple timers or even your phone’s stopwatch. Seeing improvement keeps motivation alive.
- Don’t skip rest days. Your body builds agility when it recovers.
And if you mess up a day? No sweat. Just jump back in. Agility training is a marathon, not a sprint (even if your drills are about sprinting!).
So, grab your jump rope, tape out that ladder, line up those “cones,” and get moving. Your feet—and your future self—will thank you.
Frequently Asked Questions
- Why is agility important for non-athletes?
Great question! Agility isn’t just for sports pros—it’s like the secret sauce for everyday life. It helps you move smoothly, avoid injuries, and stay balanced whether you’re chasing after your kids or just dodging a slippery spot on the floor. Think of it as giving your body a quick, smart upgrade.
- Do I really need to warm up before agility drills?
Absolutely! Skipping warm-ups is like starting a car on a freezing morning without letting the engine run for a bit. Warming up gets your muscles ready, boosts blood flow, and lowers the risk of pulls or strains. Spend just 5-10 minutes prepping your body, and you’ll thank yourself later.
- Can I do ladder drills without an actual ladder?
Yes, you can! No fancy ladder? No problem. Use tape or chalk to create your own on the floor. It’s like drawing a treasure map for your feet—fun and effective! This DIY ladder helps you master foot placement and sharpens your quickness without breaking the bank.
- What household items can replace cones for drills?
Don’t have cones lying around? Grab water bottles, shoes, or even books! These everyday items work perfectly to mark your drill spots. It’s a clever way to keep your agility training practical and budget-friendly. Just make sure they’re stable enough to avoid spills or trips.
- How can I track my progress without high-tech gear?
Tracking progress doesn’t need fancy gadgets. Use a stopwatch, mark your best times, or count reps to see how you improve week by week. It’s like keeping a personal scoreboard that keeps you motivated and shows how far you’ve come.
- What are common mistakes to avoid during at-home drills?
Rushing through drills or ignoring form are the biggest no-nos. It’s like trying to build a house on shaky ground—everything falls apart. Focus on controlled movements, proper posture, and consistent practice to get the best results safely.
- How often should I practice agility drills for the best results?
Consistency beats intensity here. Aim for 3-4 short sessions per week to let your body adapt and improve without burning out. Think of it as planting seeds—you water them regularly, and soon you’ll see your agility bloom.


