Alright, so you want to master ball control without stepping foot outside your humble abode? Good call. Ball mastery isn’t just for the pros on the pitch; it’s the bread and butter for any footballer looking to up their game. The best part? You don’t need a fancy stadium or expensive gear—just a bit of space, a ball, and some serious dedication (or stubbornness, whichever works).
First off, why bother with ball mastery? Because, let’s face it, if you can’t control the ball, you’re basically just chasing it around like a headless chicken. A solid grip on the ball with your feet means better dribbling, sharper passes, and hey, maybe even that nutmeg that’ll embarrass your mates. It’s the foundation that everything else builds on.
| Benefit | Impact on Game |
|---|---|
| Improved Touch | Allows precise control and reduces mistakes |
| Better Dribbling | Helps evade defenders with ease |
| Confidence Boost | Feel more in control during matches |
Now, don’t get me wrong, practicing at home isn’t exactly like training on the pitch with your mates egging you on. But you can still make some serious progress. Here’s the kicker: consistency beats intensity. Ten minutes every day will do way more than a frantic one-hour session every fortnight.
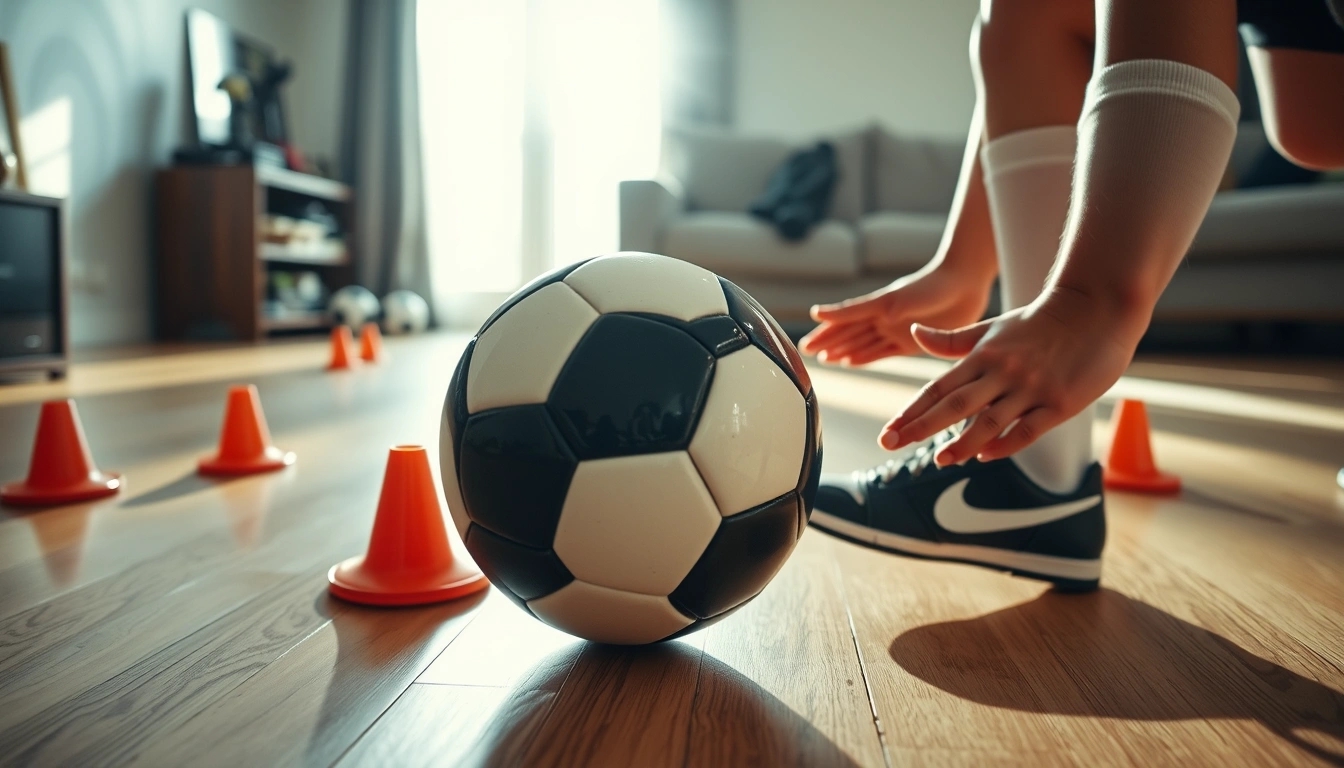
- Start simple: Toe taps and inside-outside touches are your bread and butter. They sound dull, but trust me, they’re like the vegetables of football drills—boring but essential.
- Use what you have: No cones? No problem. Use shoes, books, or even empty water bottles to set up your drill zones.
- Stay patient: Ball mastery takes time, so don’t freak out if you mess up. Even Messi had to start somewhere (probably in his living room too, who knows?).
Before diving into drills, a quick warm-up is crucial. Nothing fancy—just some leg swings, ankle rotations, and a bit of jogging on the spot. You don’t want to pull a muscle while trying to look cool, right?
Here’s a quick warm-up routine:
1. Ankle circles - 10 each foot2. Leg swings forward/backward - 10 each leg3. Side lunges - 8 each side4. Jogging on spot - 1 minute
Once you’re warmed up, grab your ball and start with toe taps. Just tap the top of the ball alternately with each foot, keeping your eyes up if you can (I know, easier said than done). This drill sharpens your foot-eye coordination and gets your feet moving quickly.
Next, try inside-outside touches. Roll the ball from the inside of your foot to the outside, then switch feet. It’s fantastic for getting comfortable with both feet, which is a game-changer. Common mistake? Trying to rush it. Slow and steady wins the race here.
| Drill | Purpose | Common Mistakes |
|---|---|---|
| Toe Taps | Improve foot-eye coordination and speed | Looking down too much, losing rhythm |
| Inside-Outside Touches | Develop comfort with both feet | Rushing, poor ball control |
Once you’ve nailed these, you can move on to more advanced moves like pull-push and rollovers, but that’s a story for another day. For now, just remember: practice doesn’t make perfect, practice makes permanent. So, get out there (well, stay in there) and make those drills count!
Why Ball Mastery Matters
Let’s be honest — ball mastery isn’t just some fancy term coaches throw around to sound smart. It’s the heart and soul of football, the foundation that separates the casual kickers from the players who actually make you stop and say, “Whoa, how did they do that?” If you’re thinking, “Yeah, yeah, I get it, ball control is important,” but your living room looks like a war zone every time you try these drills, stick with me. It’s worth it. Seriously.
Ball mastery is all about developing a natural, almost instinctive connection with the ball. When you have that, the game slows down for you. You’re not just chasing the ball like a headless chicken; you’re guiding it, feeling it, anticipating what it’s going to do next. And that’s what makes the difference between a player who’s “meh” and one who’s got style and substance.
- Control: Without control, you’re basically just hoping for luck when the ball comes your way. Mastery means you can stop, start, and change direction on a dime.
- Confidence: The more you practice, the less you worry about messing up. You’re ready to take on defenders, try new tricks, and own the pitch — or your living room floor.
- Creativity: When you’re comfortable with the ball, you start inventing moves. You’re not just repeating drills; you’re making the game your own.
Now, here’s a little reality check: ball mastery isn’t some overnight miracle. It’s a grind. You’ll trip over furniture, accidentally kick your cat (sorry, Fluffy), and probably want to throw the ball out the window more than once. But here’s the kicker — every minute you spend wrestling with that ball in your cramped space is building muscle memory that’ll pay off big time when you hit the real field.
| Common Struggles | Why You Should Keep Going |
|---|---|
| Ball bouncing off walls or furniture | Improves your reaction time and adaptability — real games are unpredictable! |
| Feeling clumsy or uncoordinated | Every pro was a beginner once. This is your growth phase. |
| Limited space to practice | Sharpens your precision and control under pressure. |
So, before you dismiss those drills because your living room looks like a battlefield, remember: ball mastery is the groundwork for everything else. It’s the reason Messi can dance through defenders and why Ronaldo’s shots feel unstoppable. Your sweat, your bruised toes, your patience — they’re all investments in becoming a better player. Keep at it, and soon enough, your “battlefield” will feel like your personal training ground.
Bottom line: Ball mastery isn’t just about fancy footwork; it’s about building a relationship with the ball that makes everything else easier. The drills might be tough, your space might be tight, but the payoff? Totally worth it.
Essential Equipment You’ll Need
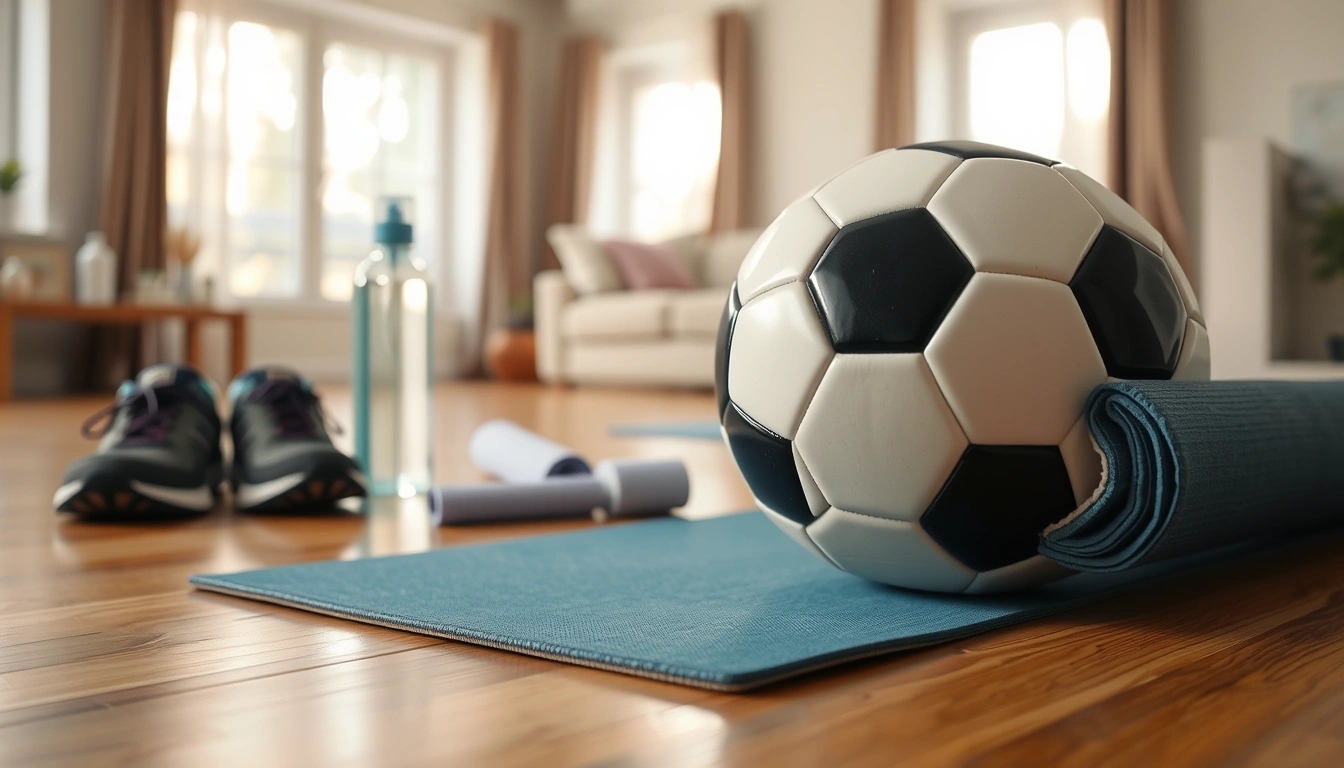
Alright, so you’re pumped to start ball mastery drills at home, but your wallet’s giving you the stink eye. No worries, mate! You don’t need to splash out on fancy gadgets or top-tier gear to get those skills sharpened. In fact, the bare minimum can do the trick just fine — and maybe even better because it forces you to get creative.
First off, let’s talk about the ball. Obviously, you need one. But it doesn’t have to be some high-end, professional-grade soccer ball that costs an arm and a leg. A decent quality ball that holds air and isn’t too heavy will do just fine. If you’re really strapped for cash, even a slightly deflated ball works — it’s actually good for control drills because it forces you to be more precise with your touches.
| Item | Why You Need It | Budget-Friendly Alternatives |
|---|---|---|
| Soccer Ball | Core to all drills; develops touch and control | Second-hand ball, slightly deflated ball, or a smaller futsal ball |
| Flat, Open Space | Essential for movement and ball control without tripping | Driveway, backyard, hallway (if you’re brave) |
| Comfortable Shoes | Protect your feet and improve grip | Any sneakers or trainers with decent sole grip |
| Cones or Markers | Help set boundaries and targets for drills | Plastic cups, bottles, shoes, or even rolled-up socks |
Now, about that space — you don’t need a sprawling pitch or fancy turf to get your drills done. Heck, your backyard, garage, or even a quiet street corner can work. Just make sure the surface isn’t slippery or too rough. Concrete’s okay, but grass or a flat driveway is better for those quick touches and rolls. If you’re indoors, try to clear an area where you won’t knock over Grandma’s favorite vase.
One sneaky tip: if you don’t have cones, don’t sweat it. Markers like empty water bottles, shoes, or even a pile of books can stand in just fine. It’s all about improvising — and trust me, that’s half the fun. You’ll feel like a kid again, setting up your own mini obstacle course.
- Ball control starts with what you have, not what you wish you had.
- Keep your gear simple so you don’t get overwhelmed before the first touch.
- Creativity counts — use household items to keep drills interesting.
Lastly, footwear. You don’t need those flashy cleats or expensive trainers. A pair of comfortable sneakers with good grip is enough to keep you steady and safe. The goal is to feel connected to the ball, not to slide all over the place like a novice figure skater.
In short, ball mastery at home is 100% doable without breaking the bank. It’s less about the equipment and more about your commitment and consistency. So, grab whatever ball you have lying around, clear a bit of space, and get cracking. Your future self on the pitch will thank you — even if your living room carpet doesn’t.
Warm-Up Routines to Prevent Injuries
Alright, before you go charging into those ball mastery drills like a bull in a china shop, let’s pump the brakes for a second. Warming up isn’t just some annoying pre-game ritual your coach forces on you—it’s actually the secret sauce to keeping your muscles happy and injury-free. Seriously, skipping warm-ups? That’s like jumping into a cold pool without easing in first. You’re asking for trouble, plain and simple.
Now, what does a good warm-up look like when you’re practicing at home? It doesn’t have to be rocket science or take forever. The goal here is to get your blood flowing, loosen up stiff joints, and get your muscles ready to dance with the ball. Think of it as telling your body, “Hey, we’re about to get busy, so don’t freak out.”
- Start with light cardio: Jogging in place or doing some jumping jacks for about 3-5 minutes is perfect. It raises your heart rate gradually, which is exactly what you want.
- Dynamic stretches: These are active movements that stretch your muscles without holding a position. Leg swings, arm circles, and hip rotations are your go-to moves here.
- Joint mobility drills: Don’t forget your ankles, knees, and hips. Ankle rolls, knee lifts, and hip openers prepare the crucial areas for the twists and turns you’ll be doing.
Here’s a quick table breaking down a simple warm-up routine you can follow before every session:
| Warm-Up Step | Duration | Purpose |
|---|---|---|
| Jogging in place | 3 minutes | Increase heart rate and blood flow |
| Leg swings (front to back & side to side) | 1 minute per leg | Loosen hip flexors and hamstrings |
| Arm circles | 30 seconds each direction | Prepare shoulders and upper body |
| Ankle rolls | 30 seconds each foot | Increase ankle mobility |
| Hip openers | 1 minute | Enhance hip flexibility |
Okay, so you’re thinking, “Fine, warm-ups are cool, but do I really need to stretch dynamically? Can’t I just do some static stretches and call it a day?” Well, buddy, static stretches (where you hold a position) are better saved for after your training. Doing them cold can actually make your muscles tighter and less responsive. Dynamic stretches are like waking your muscles up with a gentle nudge, not a slap.
Also, don’t ignore your calves and lower back. They often get overlooked but are key players in ball mastery. A tight calf can mess up your balance, and a cranky lower back? Forget about those fancy foot moves.
- Calf raises: Stand on your toes and lower back down slowly, repeat 15 times.
- Cat-cow stretches: On hands and knees, alternate arching and rounding your back to loosen the spine.
One last nugget of wisdom: listen to your body. If something feels off or you’re already sore, take it easy. Warm-ups aren’t about pushing limits but about prepping your engine for the ride ahead. Trust me, your future self will thank you when you’re not hobbling around like a zombie after a drill session.
So, next time you lace up and get ready to master that ball, remember: warm up smart, play hard. It’s the difference between a killer session and a trip to the physio.
Basic Ball Mastery Drills for Beginners
Starting simple isn’t just a cliché—it’s downright smart when you’re kicking off your ball mastery journey. If you’re new to football or dusting off those cleats after a long break, these drills are your best friends. They’re all about getting comfortable with the ball, building that essential control and touch that every player dreams of. No fancy moves, no pressure, just pure fundamentals.
Let’s be honest, the ball can feel like a wild animal at first. It doesn’t always listen, and you might find yourself chasing it more than controlling it. But hey, that’s the fun part! The key is to focus on touch—how the ball feels under your foot, how it responds to your movements. These drills help you develop that soft touch, so the ball isn’t bouncing away like a rogue ping-pong ball.
- Control Over Speed: Don’t rush. It’s tempting to zoom around, but slow and steady wins this race. Mastering control means you can speed up later without losing the ball.
- Footwork Foundations: Your feet are your tools. These drills help you get them moving just right—nimble, precise, and ready for action.
- Consistency: Doing the same drill over and over might sound boring, but it’s the secret sauce to building muscle memory. Your body learns what to do without thinking.
| Drill Name | Purpose | Key Focus |
|---|---|---|
| Toe Taps | Improve foot-eye coordination | Light, quick touches with the top of the foot |
| Inside-Outside Touches | Develop comfort using both feet | Alternating inside and outside foot touches |
| Stationary Ball Control | Enhance ball feel and control | Small movements, keeping the ball close |
Now, don’t get me wrong—these drills might look simple, but they’re deceptively effective. It’s like learning to walk before you run. You can’t just jump into complicated tricks without the basics locked down. Plus, these exercises don’t demand a massive space or expensive equipment. Your living room, backyard, or even a quiet street corner can be your training ground.
Here’s a quick tip: embrace the mistakes. You will mess up. The ball will slip, your foot will miss, and you’ll probably get frustrated. But guess what? That’s exactly when you’re learning. So, laugh it off, reset, and try again. Progress isn’t a straight line—it’s a messy, zigzaggy path.
Sample Routine for Beginners:- 2 minutes Toe Taps (slow and controlled)- 3 minutes Inside-Outside Touches (focus on smooth transitions)- 2 minutes Stationary Ball Control (keep the ball glued to your feet)- Repeat 2-3 times with breaks in between
Remember, the goal here isn’t to impress anyone but yourself. These drills build the foundation for everything else—passing, dribbling, shooting. Nail these basics, and you’re halfway to playing like a pro. So, lace up, get that ball rolling, and enjoy the ride. Mastery starts with the first touch.
Toe Taps and Foundations
Toe taps might sound boring, but don’t let the name fool you — these little moves pack a serious punch when it comes to building your foot-eye coordination and ball control. Seriously, if you’re the type who thinks toe taps are just some lame warm-up, think again. They’re the unsung heroes of ball mastery drills, and if you get them right, your overall touch and confidence with the ball will skyrocket.
So, what exactly are toe taps? Picture this: you’re standing still, ball right under your feet, and you’re just tapping the top of the ball alternately with the bottom of each foot. Sounds simple, right? Well, that’s the charm. The simplicity lets you focus on rhythm, balance, and quick foot movement without overwhelming your brain with fancy tricks. It’s like the bread and butter of ball control — and if you mess up here, the rest of your skills might crumble faster than a stale biscuit.
- Start slow: Don’t rush it. Begin by tapping the ball gently and steadily, focusing on keeping your eyes on the ball and your feet light.
- Keep your posture right: Slight bend in the knees, back straight but relaxed — no stiff upper body allowed.
- Increase speed gradually: Once you’re comfortable, speed things up. This helps improve your reaction time and foot agility.
| Mistake | Why It’s a Problem | Fix |
|---|---|---|
| Stomping the ball too hard | Disrupts rhythm and makes control sloppy | Use light taps, focus on touch, not power |
| Looking away from the ball | Reduces coordination and increases errors | Keep eyes on the ball, develop visual focus |
| Locking knees or stiff legs | Makes movement rigid and slow | Keep knees slightly bent and relaxed |
Now, why should you bother adding toe taps to your routine? Because they’re the foundation for everything else. Think of them as the warm-up act that steals the show. When your feet can move quickly and accurately over the ball, you’ll find it easier to pull off those flashy moves later on. Plus, they’re a great way to build endurance for your feet — you’ll be surprised how tiring those tiny taps can get when you push for a minute or two straight.
Here’s a quick tip: try doing toe taps while standing on one foot occasionally. It’s a sneaky way to improve your balance and ankle strength. And balance, my friend, is everything when you’re dodging defenders or lining up for a shot.
Toe Tap Drill Routine Example:- 30 seconds slow taps (both feet)- 30 seconds fast taps (both feet)- 20 seconds one-foot taps (right foot)- 20 seconds one-foot taps (left foot)- Repeat 3 times with 30 seconds rest between sets
To wrap it up, toe taps might not be the flashiest drill out there, but they’re a must-have in your ball mastery toolkit. They build the muscle memory and coordination that make the difference between a clumsy player and a smooth operator on the pitch. So next time you’re tempted to skip them because “they’re boring,” remember: boring drills often lead to brilliant results.
Keep tapping, keep improving!
Inside-Outside Touches
Inside-Outside Touches: a drill that sounds simple but packs a punch when it comes to mastering ball control. Now, if you’re picturing some fancy footwork that’ll make you look like a pro overnight, hold your horses. This drill is more about building a solid foundation, getting comfortable with both feet, and avoiding the classic newbie blunder of looking like you’re wrestling a wild animal rather than controlling a ball.
First off, let’s break down what inside-outside touches actually mean. You’re basically using the inside of your foot to tap the ball one way, then the outside of the same foot to tap it back the other way. Repeat, rinse, and repeat. Sounds straightforward, right? But here’s the kicker — it’s not just about moving the ball; it’s about doing it smoothly, rhythmically, and with purpose. If you’re slapping the ball around like it owes you money, you’re missing the point.
- Start slow: Don’t rush. Begin with small, controlled touches to get the feel of the ball.
- Keep your eyes up: It’s tempting to stare at the ball, but try to develop peripheral vision. This helps when you’re actually playing and need to spot teammates or opponents.
- Use both feet: This is crucial. If you only master one foot, you’re limiting yourself big time.
Now, let’s talk about the usual mess-ups that can turn this drill from a confidence booster into a frustration fest. The biggest one? Overthinking. You might find yourself tensing up or trying to force the ball too hard, which ends up making your feet trip over themselves. Relax, breathe, and let the ball do the work. Another rookie mistake is neglecting posture — if you’re standing too upright or leaning awkwardly, you’ll lose balance and control.
| Common Mistakes | How to Fix Them |
|---|---|
| Looking down at the ball constantly | Practice keeping your head up; try to use your peripheral vision. |
| Using only one foot | Spend equal time practicing with your weaker foot to balance skills. |
| Slapping the ball too hard | Focus on gentle, controlled touches rather than power. |
| Poor body posture | Keep knees slightly bent and stay on the balls of your feet. |
One more thing — don’t expect to nail this drill perfectly in your first session. Like anything worthwhile, it takes time and patience. The beauty of inside-outside touches is that they build muscle memory, so with consistent practice, your feet will start moving almost automatically. And trust me, that’s when the magic happens.
In the end, this drill isn’t just about fancy footwork; it’s about building confidence with the ball at your feet. Once you’ve got this down, you’ll notice your dribbling, passing, and overall control improve drastically. So, lace up, clear some space, and get to tapping — your future self will thank you.
Tips for Practicing Inside-Outside Touches at Home:1. Find a flat surface with enough room to move your feet freely.2. Use a ball that’s appropriate for your skill level (lighter balls for beginners).3. Set short practice intervals (30 seconds to 1 minute) to maintain focus.4. Take breaks to avoid frustration and muscle fatigue.5. Record yourself occasionally to spot areas for improvement.
Advanced Drills to Challenge Yourself
Alright, so you’ve got the basics down and you’re not just dribbling like a lost puppy anymore — good job! Now, it’s time to kick things up a notch. These advanced drills aren’t just about looking cool (though you’ll definitely score some style points); they’re designed to push your agility and precision to levels you probably didn’t think were possible in your cramped living room or backyard.
Don’t worry about needing a fancy pitch or tons of space. Seriously, some of the best ball masters started in tiny spaces with nothing but sheer determination (and maybe a few broken vases). The key here is consistency and focus, not the size of your playground.
- Pull-Push Drill: This move is deceptively simple but packs a punch when it comes to control. You basically pull the ball back with the sole of your foot and push it forward again in one smooth motion. Mastering this will seriously boost your ability to change direction on a dime.
- Rollovers: Looks flashy, right? But it’s all about timing and foot coordination. Rolling the ball over your foot while keeping your balance can be tricky, so start slow and build up speed.
Here’s a quick table to break down these moves:
| Drill | Focus Area | Common Mistakes | Tips |
|---|---|---|---|
| Pull-Push | Ball control and quick direction change | Using too much force, losing balance | Keep your foot light and practice slow before speeding up |
| Rollovers | Foot coordination and balance | Rushing the move, poor foot placement | Focus on smooth, deliberate touches and keep your eyes on the ball |
Now, if you’re feeling adventurous (or just bored with the same old drills), try combination moves. These are like the secret sauce of ball mastery — blending different techniques to mimic real-game pressure. It’s one thing to pull off a slick move in isolation, but stringing them together without tripping over yourself? That’s where the magic happens.
Here’s a quick rundown of a combo drill you can try:
1. Start with 10 toe taps to warm up your feet.2. Transition into 5 pull-push moves to get the ball moving.3. Follow it up with 3 rollovers to practice balance.4. Finish with inside-outside touches for control.
Repeat this sequence a few times, and you’ll notice your feet start to feel more confident and quicker. It’s like your brain and feet are finally on the same wavelength — a rare moment of harmony in the chaotic world of football training.
One last thing: patience. Yeah, I know, it’s easier said than done. You’ll mess up, trip over the ball, and maybe even swear under your breath. But that’s part of the process. Every stumble is a step closer to mastery. So keep at it, embrace the awkward moments, and soon enough, you’ll be pulling off moves that make your friends ask, “Where’d you learn that?”
In the end, advanced drills are less about perfection and more about pushing your limits — and having a bit of fun while you’re at it.
Pull-Push and Rollovers
Pull-Push and Rollovers: These moves might look like something out of a slick highlight reel, but don’t be fooled—they demand serious control and a whole lot of patience. If you’re trying to just whip these out like a pro on your first go, well, you’re setting yourself up for frustration (and maybe a few bruised egos). So, let’s break down how to practice them at home without turning your living room into a disaster zone.
First off, patience is your best friend here. These moves aren’t about speed; they’re about finesse. The pull-push involves dragging the ball back with the sole of your foot and then pushing it forward with the same foot’s inside, all in one smooth motion. Sounds simple, right? But the timing and touch need to be just right. Rollovers, on the other hand, have you rolling the ball around your foot—like a little dance between you and the ball. It’s a great way to mess with defenders, but it takes practice to make it fluid and not look like you’re just messing around.
- Start slow: Don’t rush. Begin with just the pull-push motion, repeat it until it feels natural.
- Use a small space: Your hallway or a corner of your room works perfectly. No need for a full pitch.
- Focus on foot placement: The sole of your foot is your best tool here. Keep it flat and controlled.
| Mistake | Why it Happens | How to Fix It |
|---|---|---|
| Rushing the move | Trying to be flashy too soon | Slow it down and focus on control, not speed |
| Foot not flat enough | Lack of awareness of sole contact | Practice sole touches separately to build muscle memory |
| Ball rolling away | Too much force or wrong angle | Use softer touches and adjust foot angle |
Here’s a little secret: consistency beats intensity. Trying to cram hours of practice into one day is a recipe for burnout and sloppy moves. Instead, set aside 10-15 minutes daily. Even if you feel like you’re getting nowhere, those tiny improvements add up. And hey, don’t beat yourself up if you look awkward at first—everyone does.
Example Practice Routine:1. Warm-up foot stretches (3 minutes)2. Pull-push slow motion x 20 reps3. Rollovers slow x 15 reps4. Combine pull-push and rollover x 10 reps5. Cool down and review what felt tricky
Remember, these moves are not just about looking cool—they’re about building the muscle memory and control that will let you pull off slick combos when it counts. So, embrace the awkwardness, laugh off the missteps, and keep at it. Your future self on the pitch will thank you.
Combination Moves for Game Situations
Alright, let’s get real about combination moves — these are the secret sauce that separates the “just okay” players from the ones defenders dread facing. You see, mixing different ball mastery drills isn’t just about looking fancy; it’s about simulating the chaos of an actual game. When you’re out there on the pitch, no one’s waiting for you to finish your toe taps before a defender lunges in. You gotta blend moves seamlessly, like a chef tossing ingredients into a sizzling pan without missing a beat.
So, how do you practice this at home without a crowd or that adrenaline rush? Start by stringing together simple drills—say, a quick inside-outside touch followed by a pull-push and then a rollover. It sounds easy on paper, but when you try to keep the pace up, your coordination and focus get tested big time. The goal is to make these transitions smooth enough that when you’re back on the field, defenders can’t predict your next move. You want them guessing, scratching their heads, and maybe even tripping over their own feet.
- Tip 1: Don’t rush the combos. Master each move individually before attempting to combine them.
- Tip 2: Practice with both feet. If you’re only comfortable with one foot, defenders will smell that weakness instantly.
- Tip 3: Use a small, confined space to mimic tight game situations where quick thinking is essential.
Now, here’s a quick table to help you visualize a simple combo drill progression you can try at home:
| Step | Move | Focus | Reps |
|---|---|---|---|
| 1 | Toe Taps | Foot-eye coordination | 20 seconds |
| 2 | Inside-Outside Touches | Control & rhythm | 15 reps each foot |
| 3 | Pull-Push | Ball control & change of direction | 10 reps each foot |
| 4 | Rollovers | Agility & deception | 10 reps each foot |
| 5 | Combine all moves | Flow & speed | 3 sets |
Look, nobody’s expecting you to become Ronaldinho overnight by just practicing in your living room. But if you keep at it, these combination drills will build that muscle memory and confidence to pull off slick moves when it counts. And hey, if you mess up? Good. That’s part of the process. Even Messi had his off days.
To spice things up, try recording yourself. Watching the playback can be an eye-opener—sometimes you think you’re smooth, but the video tells a different story. Plus, it’s kinda fun to see your own “oops” moments and laugh them off.
- Pro tip: Challenge yourself by increasing speed or adding a defender (a friend or even a cone) to simulate pressure.
- Don’t forget: Consistency beats intensity. It’s better to practice a little every day than to go all out once a week and burn out.
So, next time you’re chilling at home, don’t just kick the ball around aimlessly. Create your own mini game scenarios, blend those moves, and get ready to baffle defenders without breaking a sweat on the field. Because when the whistle blows, you want your feet to talk louder than your nerves.
Keep grinding, keep mixing, and keep those defenders guessing!
Frequently Asked Questions
- Why is ball mastery so important for football players?
Great question! Ball mastery is like the secret sauce for any footballer. It’s all about control, confidence, and finesse with the ball at your feet. When you nail ball mastery, you’re not just kicking a ball—you’re commanding it. This skill lets you dribble past defenders, make sharper passes, and react faster during fast-paced moments. Think of it as learning to dance with the ball; the better your moves, the harder you are to stop.
- Can I practice ball mastery drills effectively at home without a big space?
Absolutely! You don’t need a stadium to sharpen your skills. Even a small corner of your living room or backyard works wonders. The key is consistency and creativity. Tight spaces actually help improve your close control and quick touches because you have to be precise. Just clear some fragile stuff out of the way, and you’re good to go!
- What equipment do I really need to start ball mastery drills at home?
Surprise—there’s no need for fancy gear! All you really need is a football (or any similar-sized ball) and a bit of space. If you want, a cone or a small marker can help with drills, but even household items like shoes or bottles work perfectly. The focus should be on your touch and control, not your gear.
- How can I avoid injuries while practicing ball mastery drills at home?
Injuries are a buzzkill, right? That’s why warming up is non-negotiable. Spend 5-10 minutes doing light stretches and mobility exercises targeting your legs, ankles, and hips. Think of it like oiling a machine before use. This simple step keeps your muscles flexible and ready, so you don’t pull anything silly mid-drill.
- What are some beginner-friendly drills I should start with?
Start with the classics—toe taps and inside-outside touches. These drills build your foot-eye coordination and comfort with the ball. They might seem basic, but they’re the building blocks for more advanced moves. Picture them as learning your ABCs before writing poetry.
- How do I know when I’m ready to move on to advanced drills?
When you feel like the ball is practically glued to your feet and you can control it without thinking twice, it’s time to level up. Advanced drills like pull-push, rollovers, and combination moves demand more precision and agility. If you’re ready to challenge yourself and add flair to your game, go for it—but remember, patience and practice are your best friends here.
- Can practicing combination moves at home really help in real game situations?
Definitely! Combination moves mimic the unpredictable nature of a real match. By blending different skills smoothly, you train your brain and feet to react quickly under pressure. It’s like rehearsing a dance routine before the big show—when game day comes, you’re ready to impress and outsmart defenders.


")


